So the home project was a success. Or rather, it went way better than I figured it would. Don’t take this article as a how-to by any means, take it as how-not-to and just enjoy the anecdotes and self deprecating humor.
I went white girl crazy on Pinterest a few weeks ago and kept seeing these amazing looking walls, I had no idea how they were done or what the material was, but one night I went down the rabbit hole and figured out what I wanted was a custom feature wall. I had nothing on the docket for the weekend since I’m traveling quite a bit the next few weeks, so I thought “fuck it” let’s just do the damn thing.
Now, you need to understand a few things about my craftsmen skills:
- They are non-existent, or rather, were.
- I was afraid to hang things on the wall as of a few weeks ago
- I am stupid.
- I am also very lucky.
- Dunning-Krueger Effect was in full force
Knowing these things, I started simple. I moved all the furniture out of the way in the Guest room and started drawing lines on the wall, trying to figure out a solid design. I ended up with something I was happy with to use as kind of a template as you can see below. (Sorry, I know its a little tough to see, also the blue tap denotes what my stud finder thought were studs, whether I actually have that many, who the hell knows)

Anyway, so once I had it sketched out, then there wasn’t much left to do besides get to work. I knew that I needed the following:
1. Pneumatic Nail Gun (didn’t have)
2. Miter Saw (didn’t have)
3. 1×2 Inch MDF Primed (Wood also works, if you’re a fucking peasant)
4. Spackle Drywall Patch (didn’t have)
5. Orbital Sander (didn’t have)
6. 3M Tape (Having watched someone use that stupid frog tape and get screwed, I opted to buy the 5 dollar a roll 3M Blue tape and holy shit am I glad I did)
7. Paint Sprayer (didn’t have) (also, you can use brushes or rollers and keep your sanity)
8. Caulk
9. Caulk Gun (didn’t have)
10. Paint
11. Angle Finder (GET ONE IF YOU DON’T HAVE ONE)
12. Skill (didn’t have)
So Friday evening I went to Home Depot and bought a few things, like a large straight edge, an angle finder, some paint prep material like drop clothes and a heavy canvas cloth. Knowing full well that I would return the next morning for the MDF and a few other things. What I didn’t count on was going to Home Depot no less than 3 times on Saturday. The initial trip for MDF and Nails, the 2nd trip for a Paint Sprayer. and the 3rd trip for more nails because I bought the wrong gauge the first time around (oops).
I borrowed the rest of the needed stuff from my extremely handy friend PJ and I got to work. Since the MDF came in 10 foot lengths it was almost perfect to use as is for the bottom and top of the frame. I needed to cut it down just a little bit on the left and right but overall everything was level (even though the stupid wall wasn’t perfectly level) And getting the frame up was actually pretty easy.

From there, it was more or less follow the template I had sketched out on the wall and cut more pieces making sure they were at least touching a stud for the most part and just making 45° cuts with the Miter saw (some ended up being 46° but such is life). Once I was happy with the amount of pieces on the wall and the design, I then took the caulk gun to it and caulked each side of the each board so it didn’t look like a 7 year olds craft project that gets thrown in the trash or kept in the attic for 20 years.
I then took some spackle to the few gaps and joints in the wood to try to smooth things out, this worked well but also made sanding the seams a necessity the next day. At that point I called it a night and figured I’d get to painting the next morning bright and early.
So using a paint gun is nice, except it sucks, prep work for it really sucks. Basically create yourself a room inside of a room because otherwise that paint will get everywhere. Luckily I was warned of this so I taped up all the walls and ceiling with plastic in anticipation.

Again, I can’t overstate how important and handy that 3m tape was, It stuck to the ceiling without issue and held up for the entire project. Totally worth the 5 bucks a roll.
I had bought a paint gun the day before so having never used one before I did the smart thing and opened it up, and just winged it. Instructions are for people that don’t know what they are doing and I clearly did.
I am also pretty sure I shouldn’t have gone through 3qts of paint for one wall, but who knows…
So after burning the 2qts I had on hand, I had to make a run to Sherwin Williams and get another 2qts of “Anchors Aweigh” because I figured 1 more quart would suffice but hell no was I making another trip out if I was wrong.

As you can see, it turned out pretty alright, this was mid drying and before some touch up work, the only place extra paint got was a little on the baseboards, a little on the ceiling and a spot here or there, overall cleanup took about 20 minutes thanks to having my wall paint and trim paint on hand from the last time a wall got painted 8 months ago.
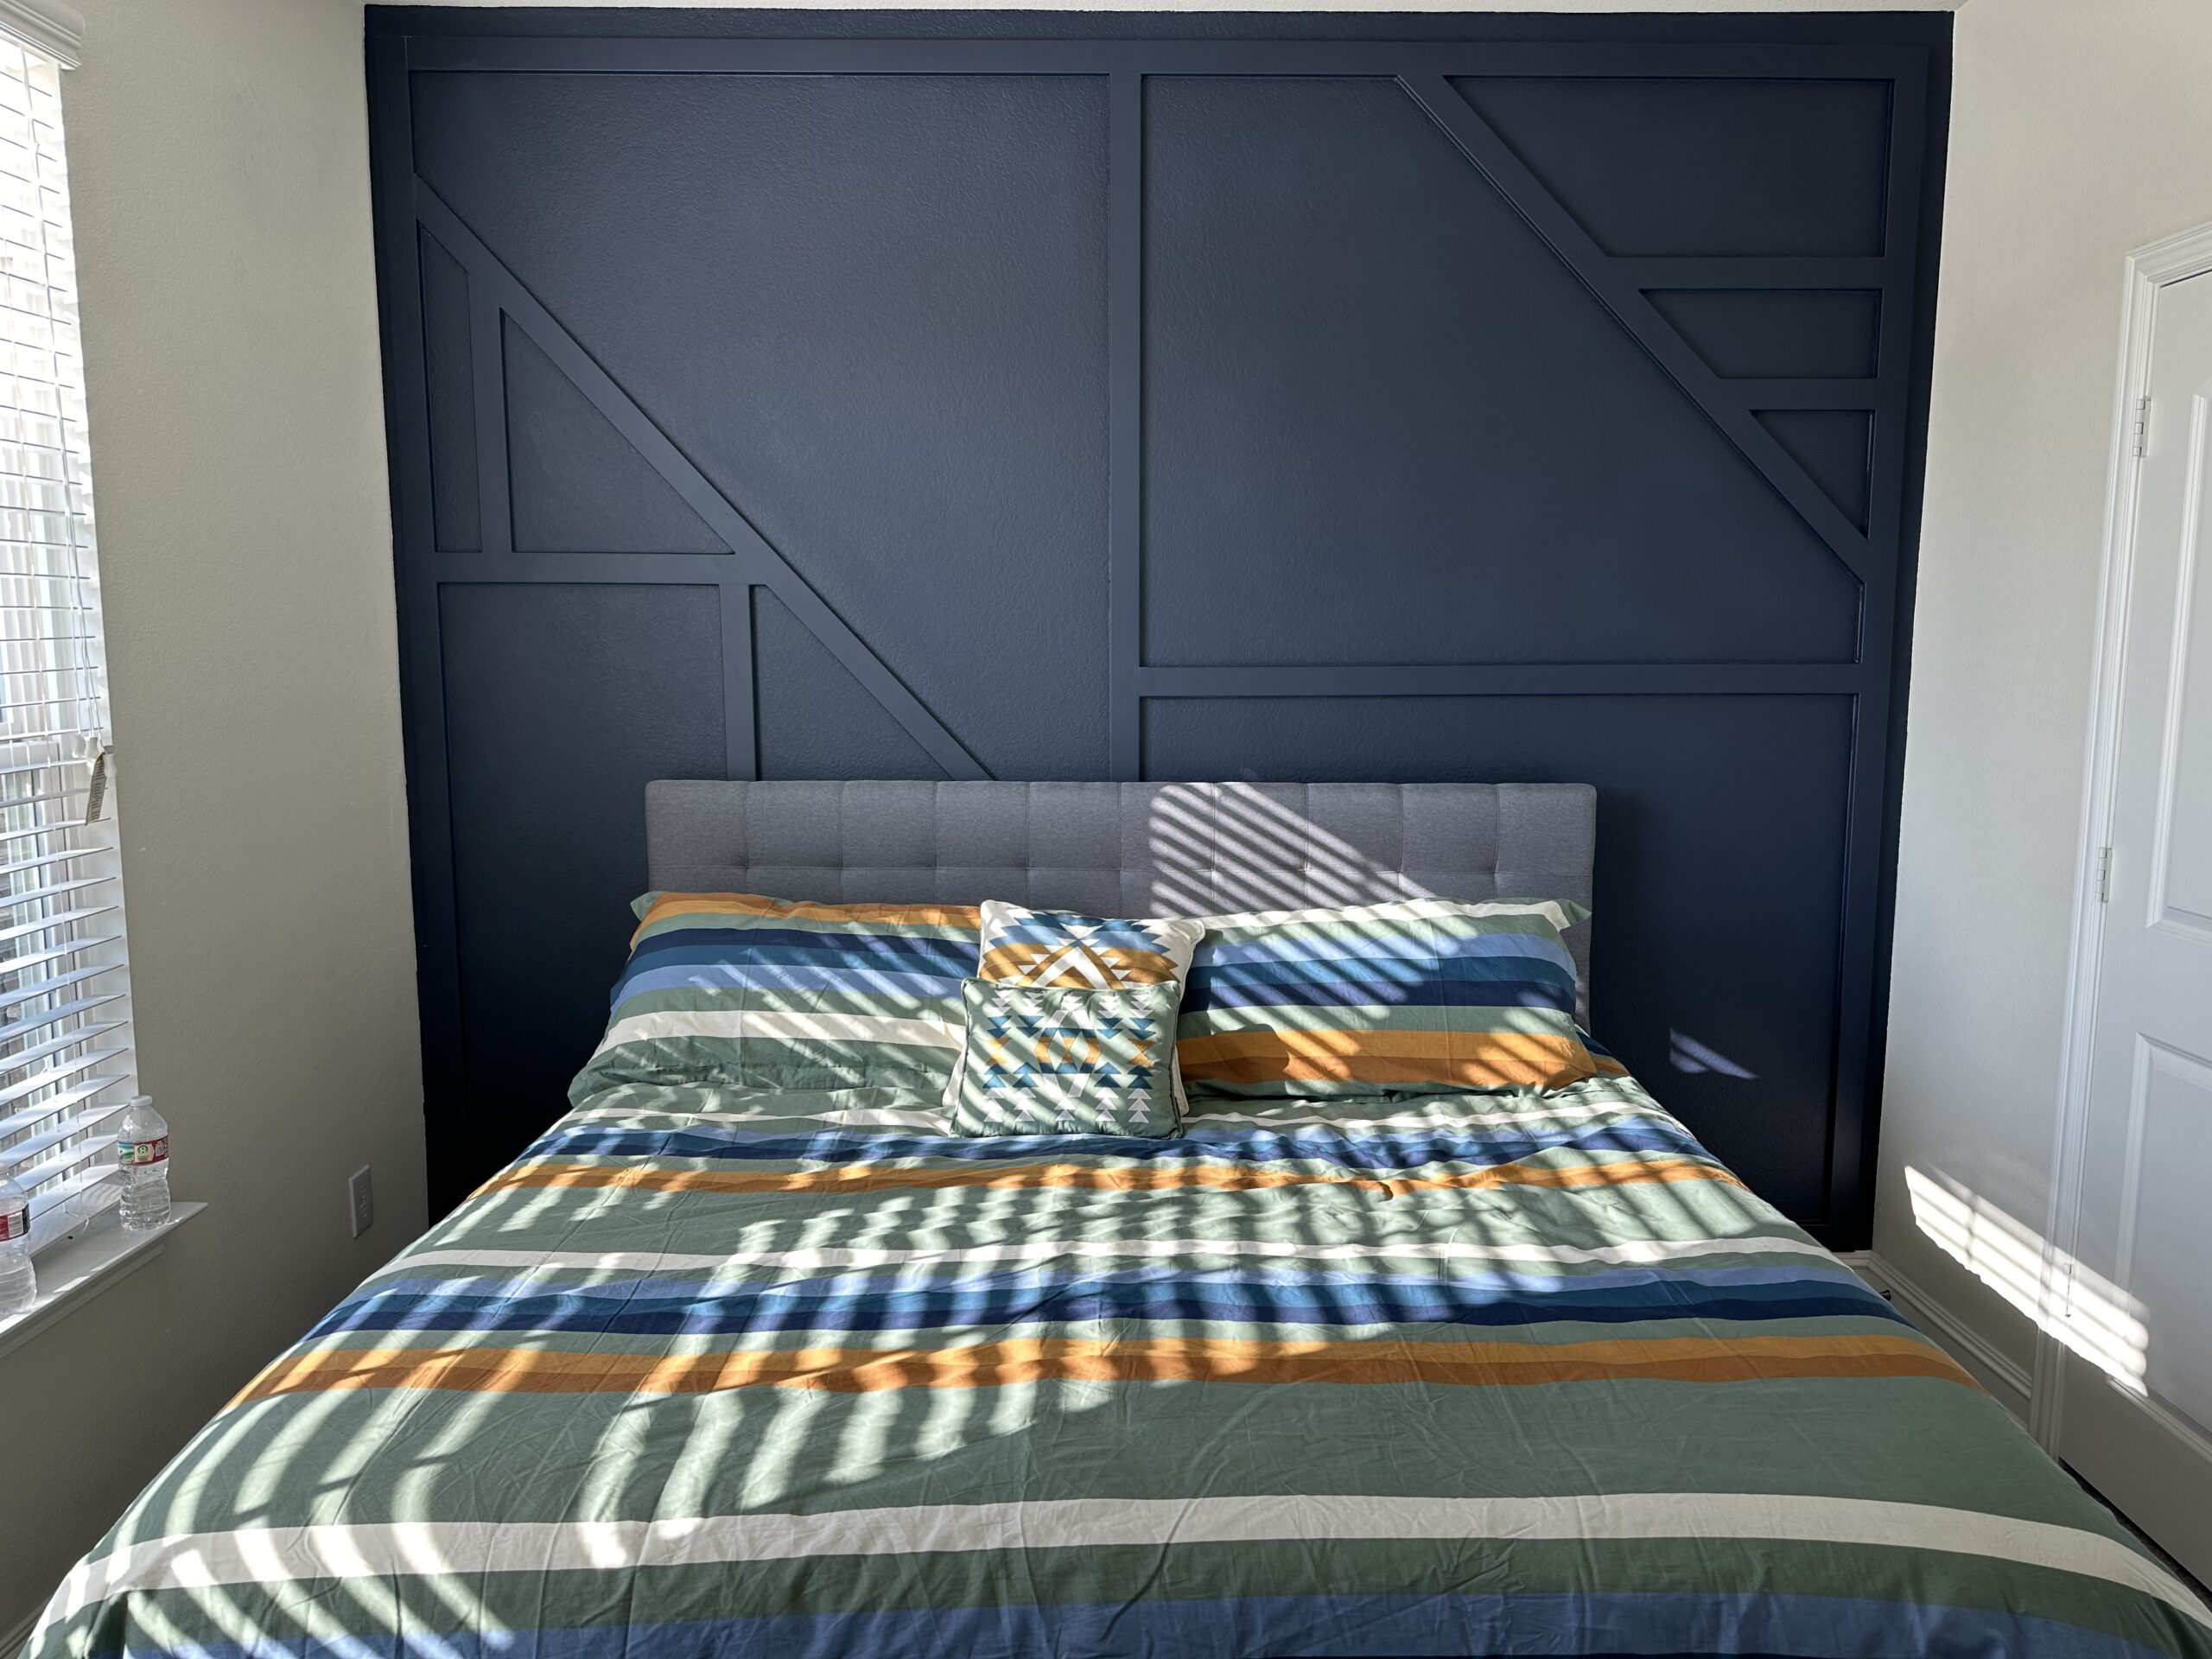
Anyway, here is the finished result, I have night stands and curtains, and lamps etc coming so once this Guest room project is finished, it will look like the most put together room in the house. I’ll update with the overall finished product so you can talk shit about my design choices.

Yeah that’s a King bed for reference, yes it does shrink the room, no I don’t care.